SEARCH BY VEHICLE
- Home
- All products
- SH25 Liquid Silicone Rubber Mould Making Kit 100:3 Mix - 1Kg 5Kg 10Kg Red
-
Sold out

-

-

-

-

-

-

-

-

-

-

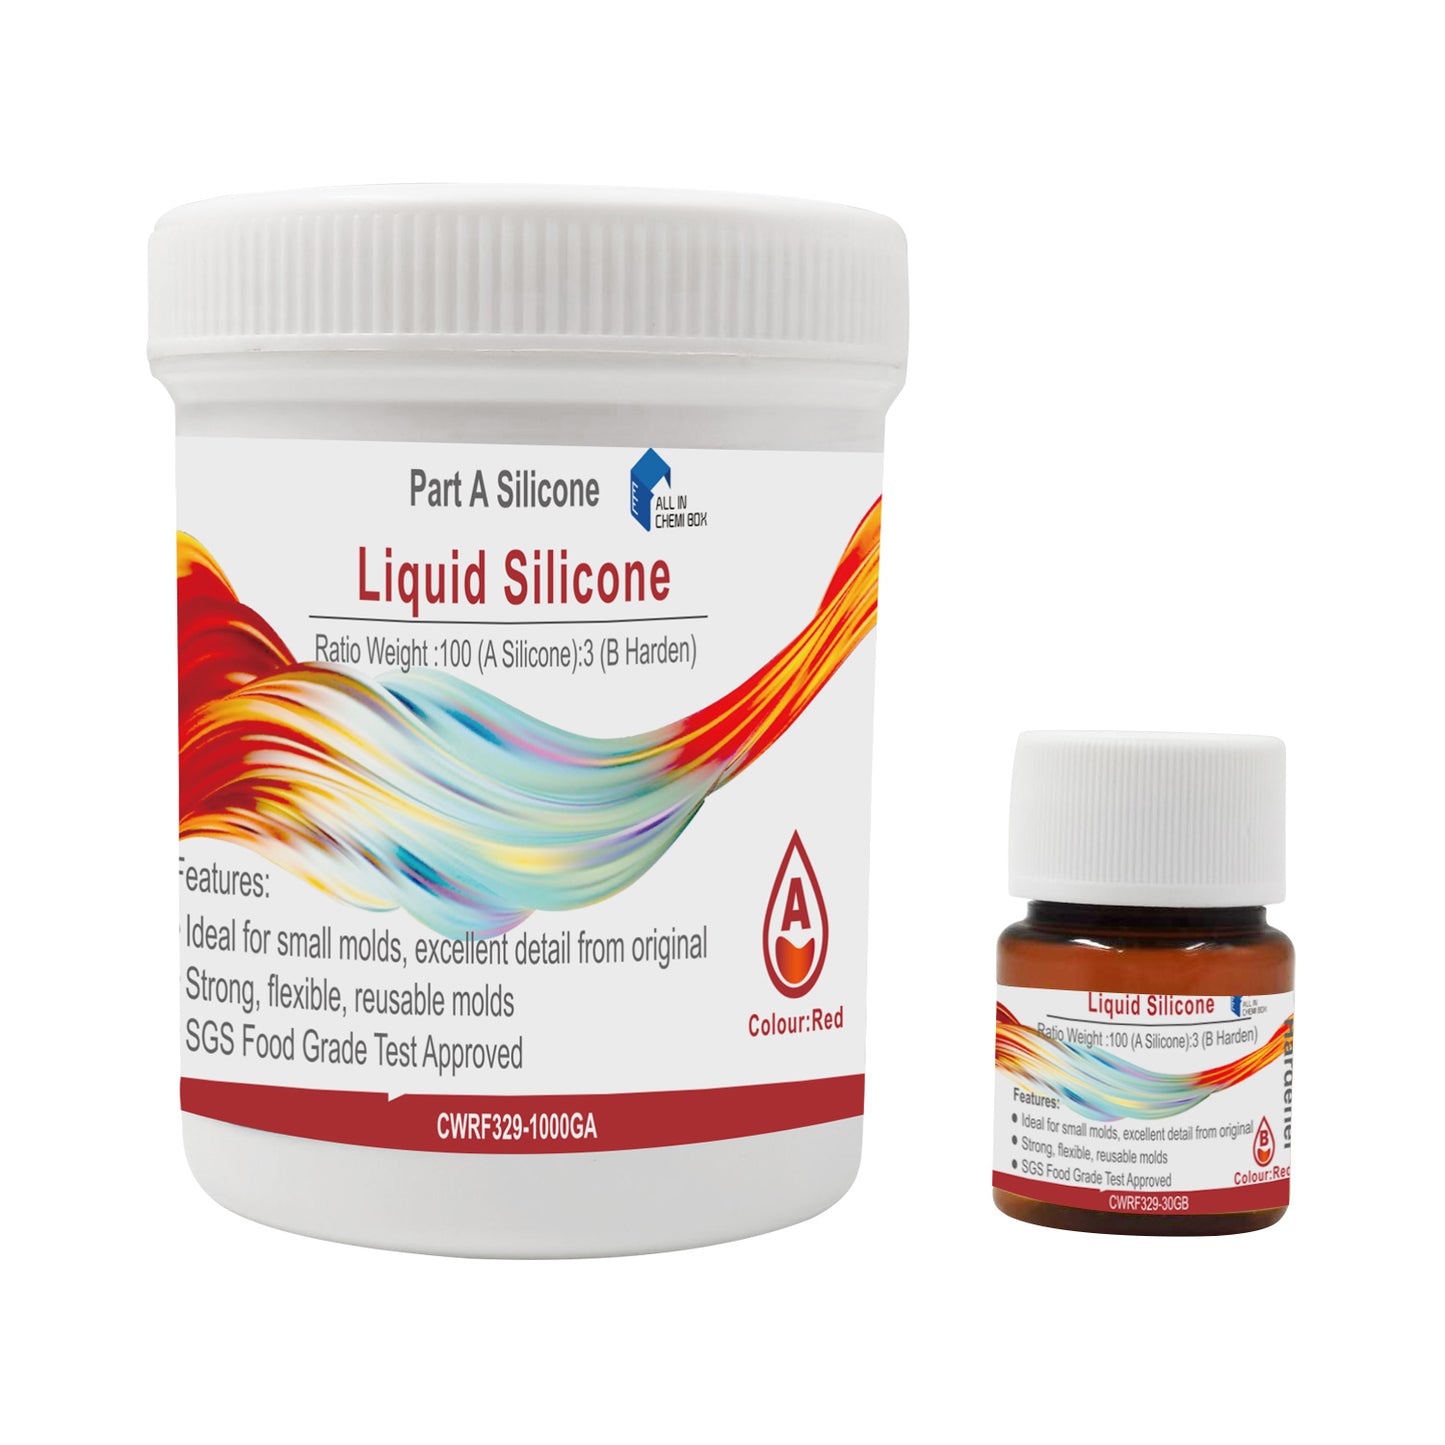
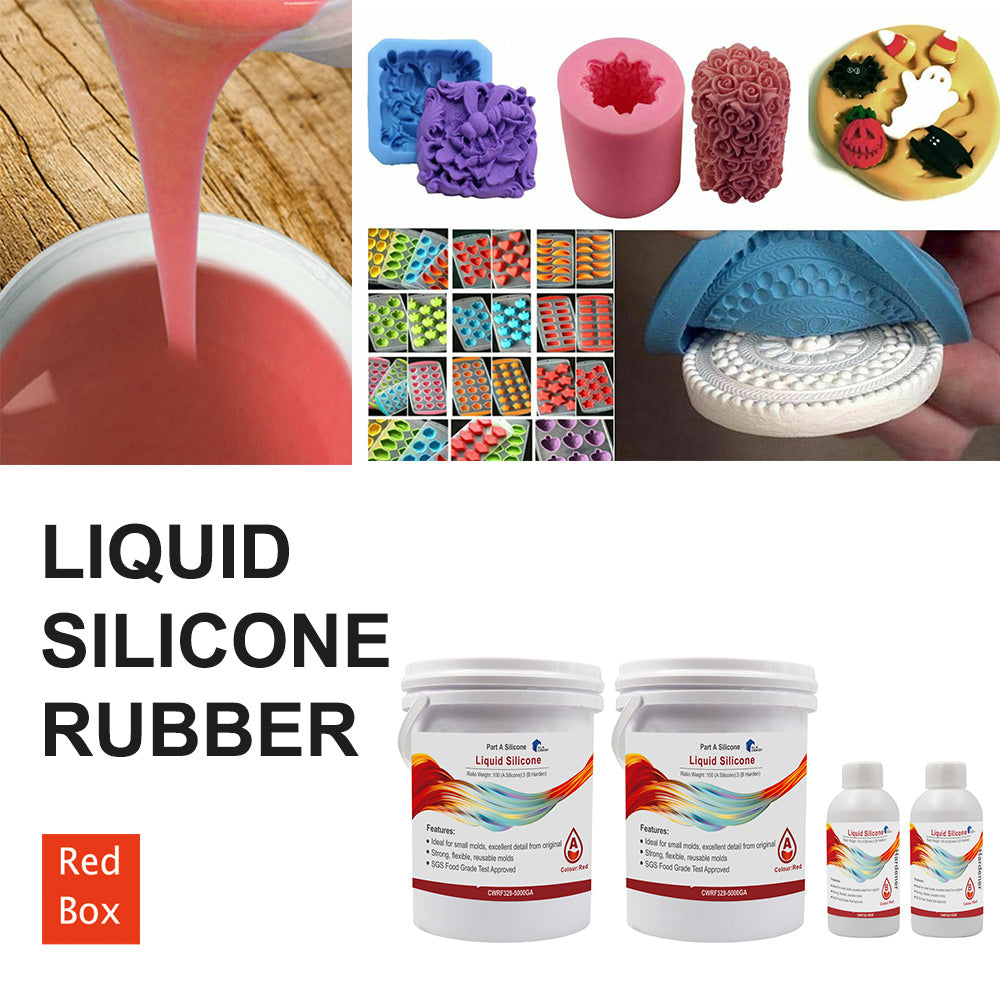
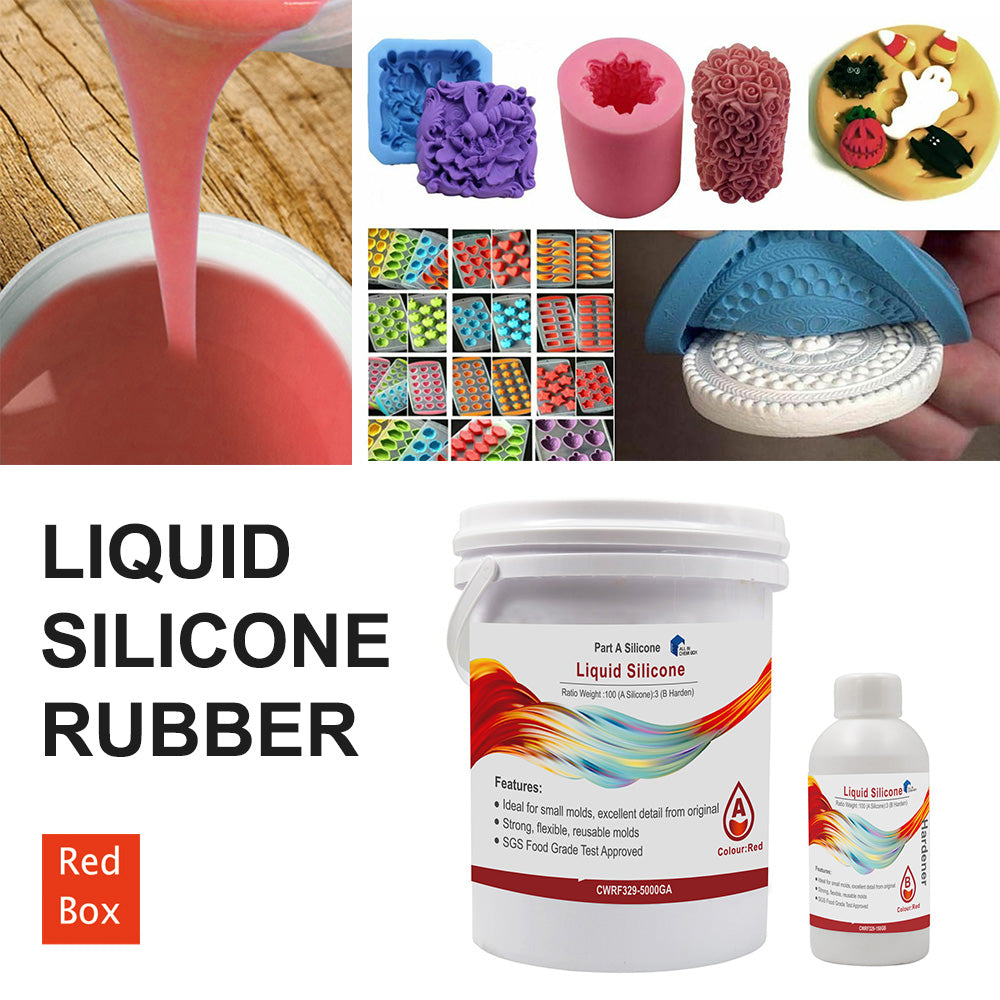
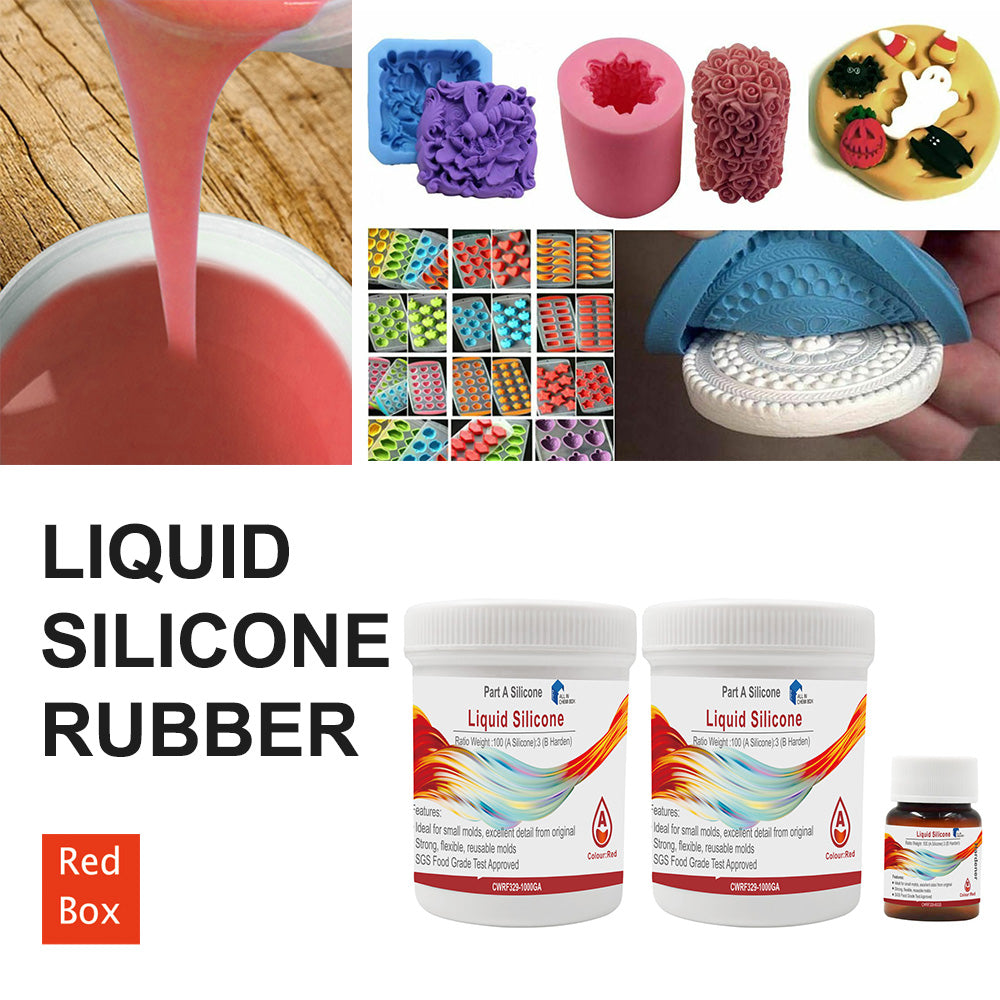
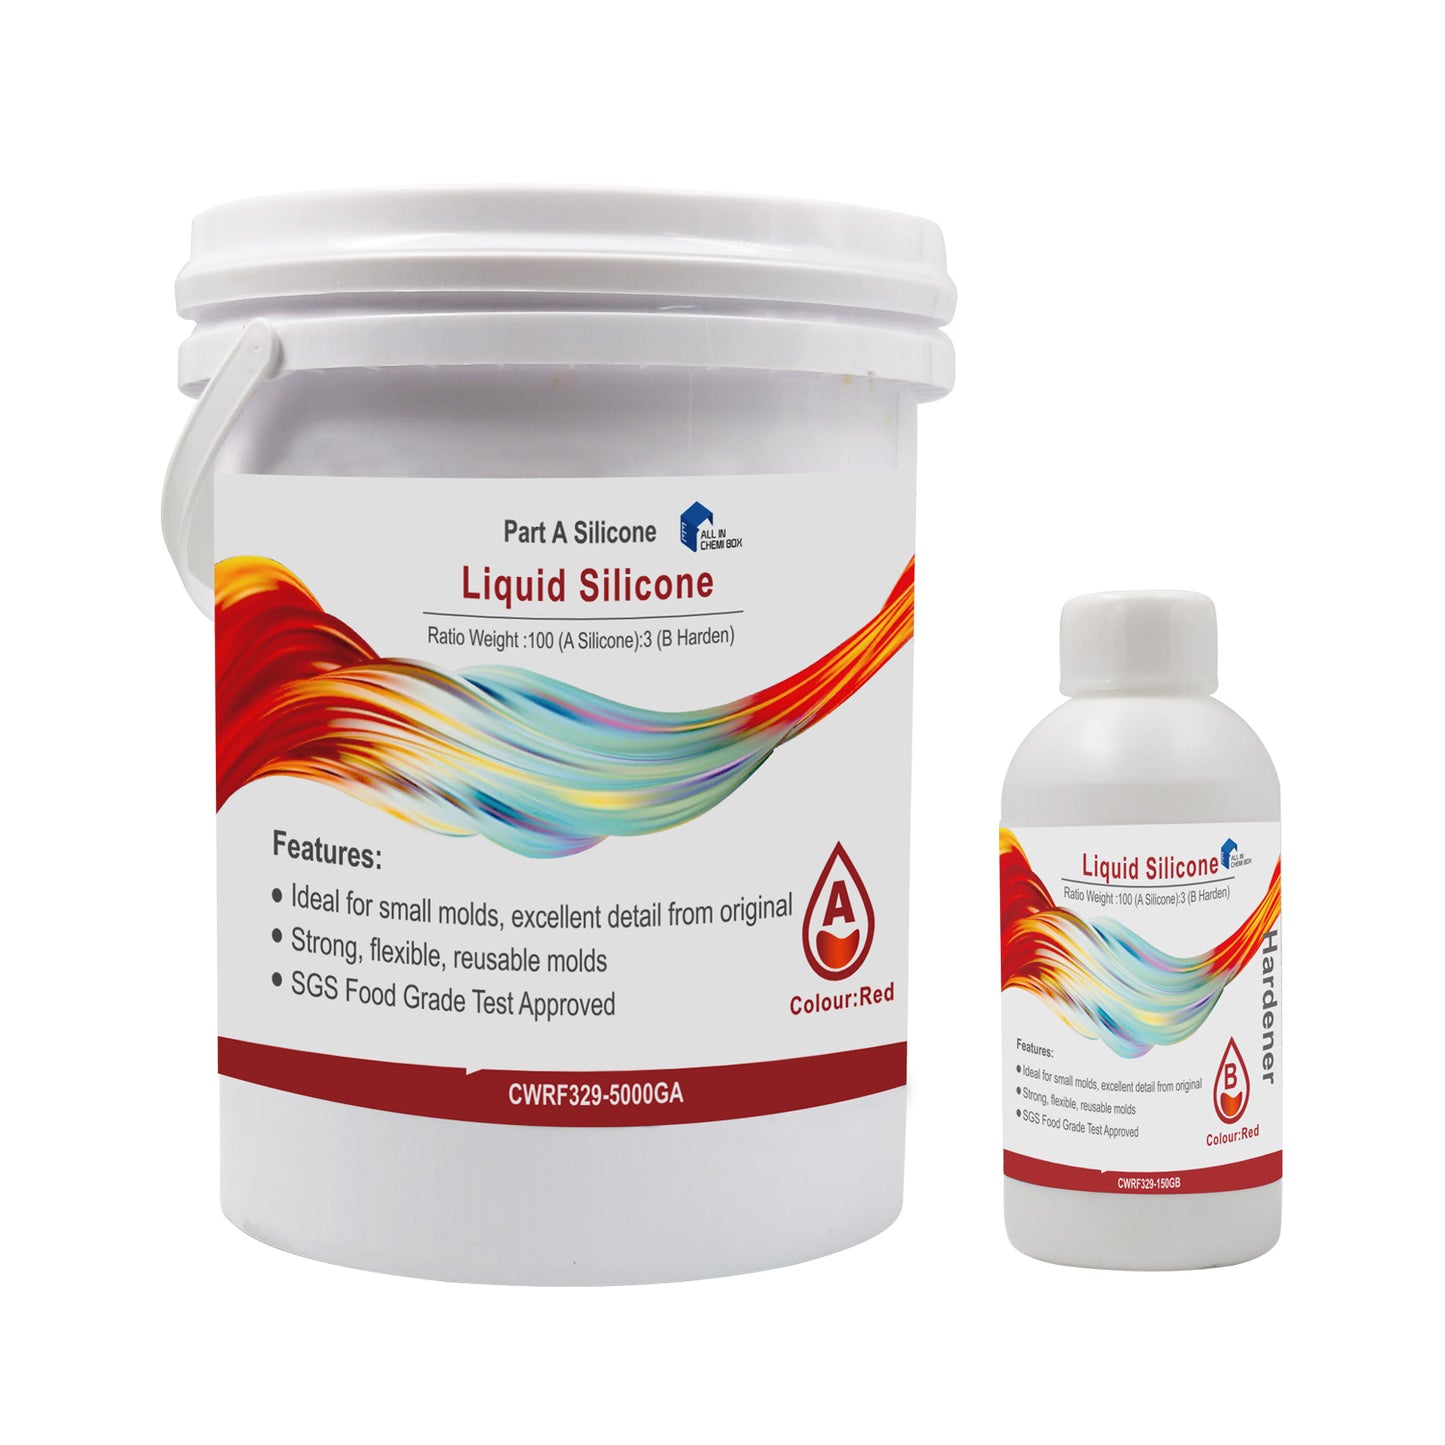
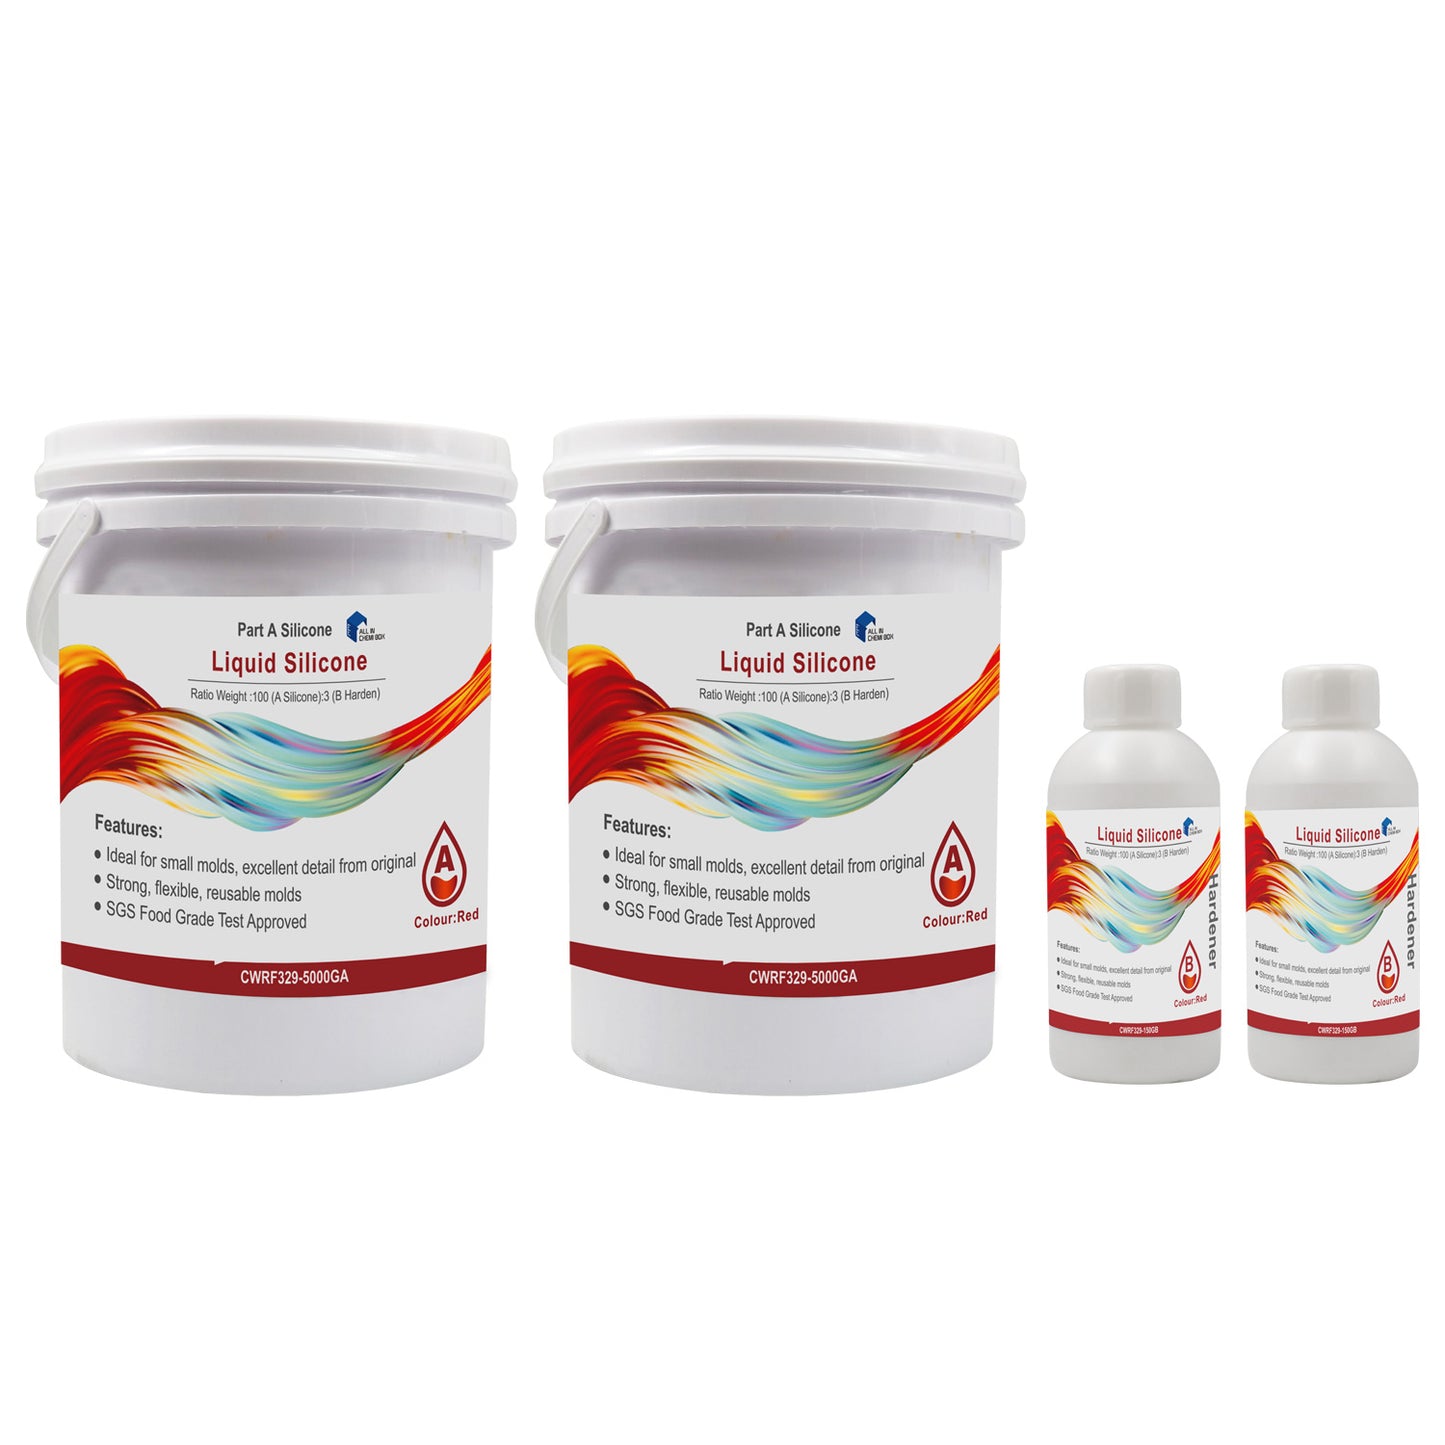
SH25 Liquid Silicone Rubber Mould Making Kit 100:3 Mix - 1Kg 5Kg 10Kg Red
SH25 Liquid Silicone Rubber Mould Making Kit 100:3 Mix - 1Kg 5Kg 10Kg Red
SKU:CWRF329-1KGR
Feature:
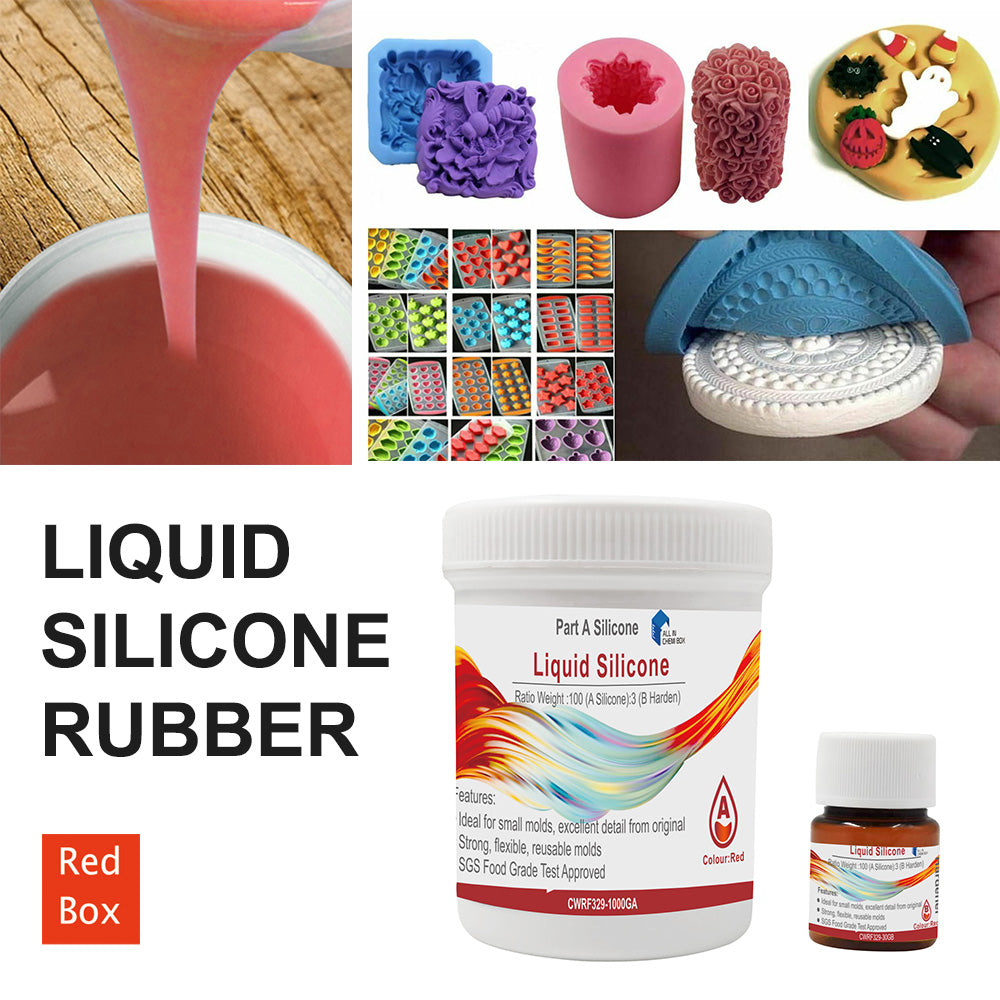
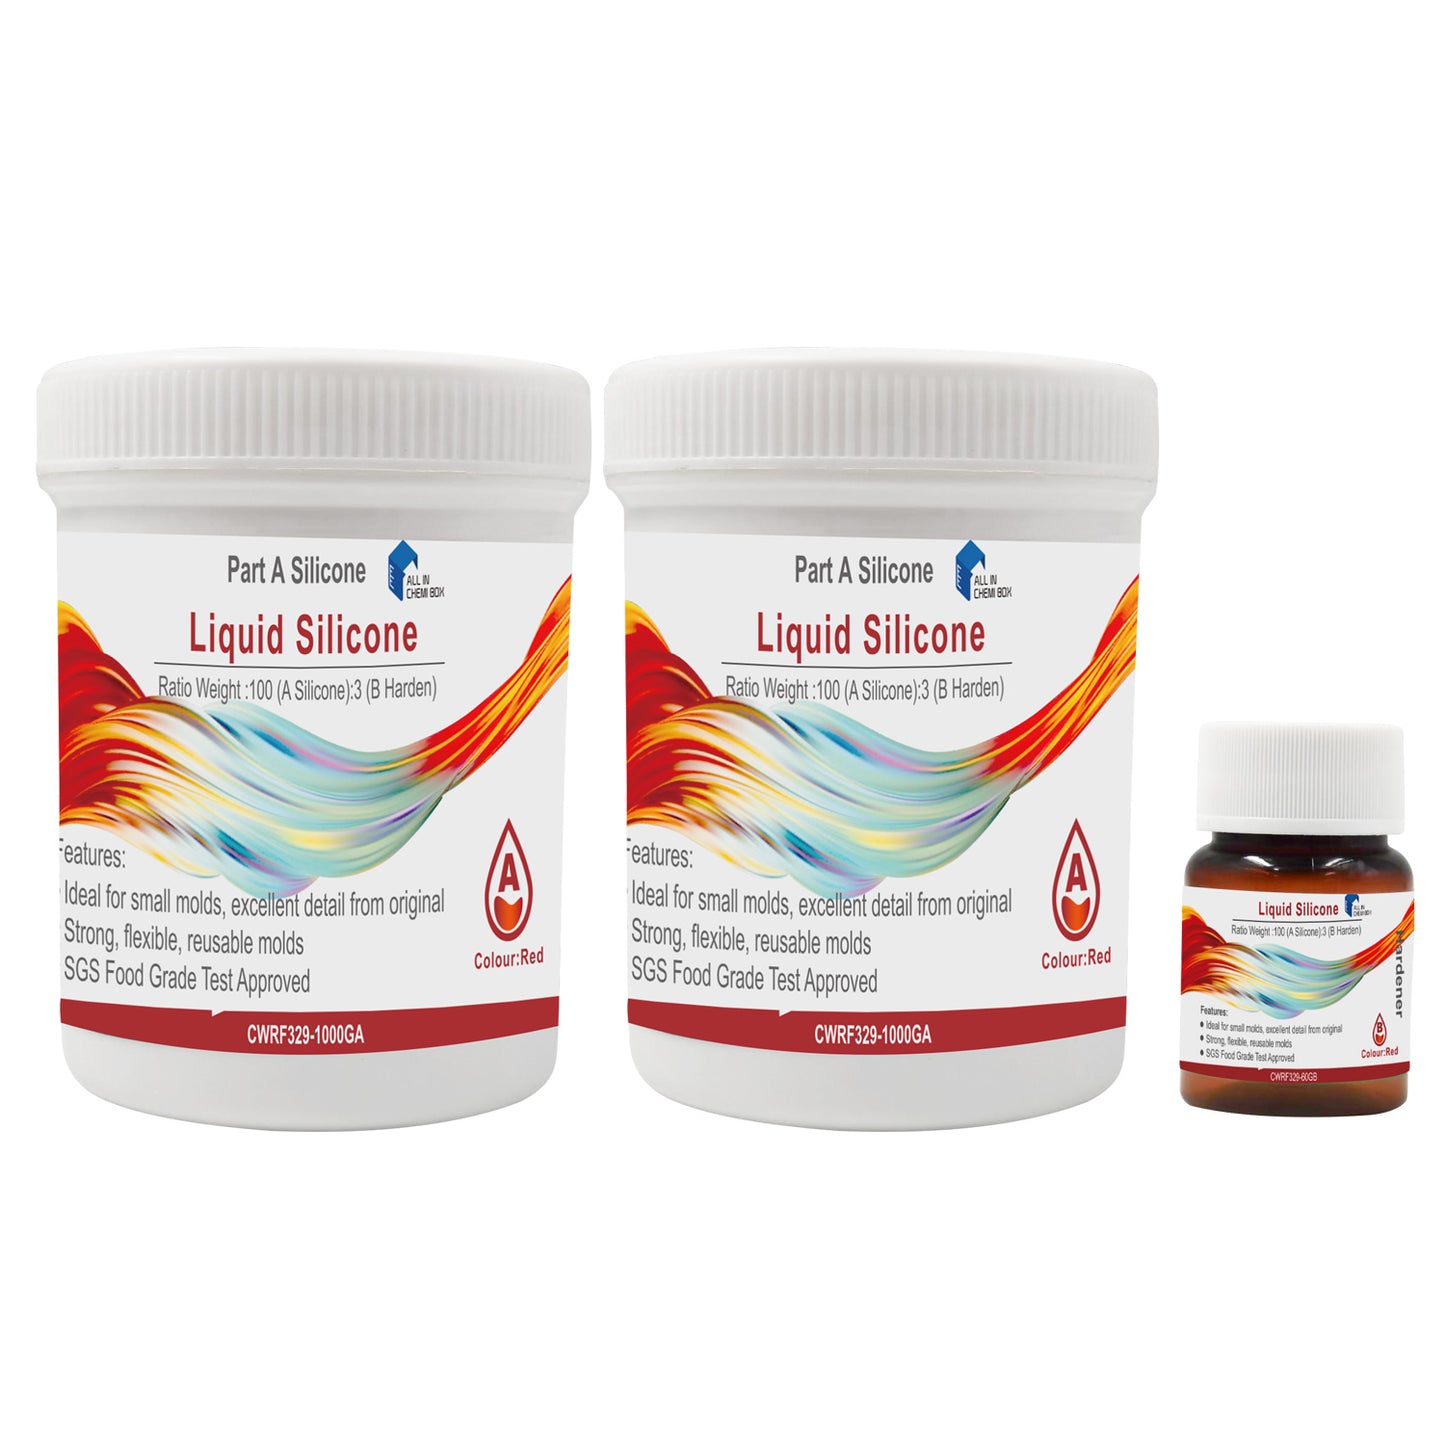
Ratio Weigt:100 (A Silicone) : 3 (B Harden)
Harden Time (surface) : 20-45-mins pot life and 4-6hrs cure time,completed harden time 24hrs
Shore A Hardness- Approx. 25
Tensile strength - Approx. 4.0MPa- MPa
Ultimate Elongation Approx. 500-550%
Tear strength > 24 kN/m
Linear shrinkage 3% slow speed catalyst -
Color: Red
Content: 1KG/5KGS/10KGS
Description
-Mold silicone rubber is a two-component silicone rubber at room temperature, abbreviated as RTV.
-This is a two-component compound.
-The A component contains a crosslinking agent and the B component contains a catalyst.
-During the packaging process, the crosslinker and the catalyst must be separated.
-Its vulcanization is carried out at room temperature, as long as the two components are mixed in a certain ratio (the specific ratio can be determined according to the operating time and product performance),
-The two-component compound undergoes a cross-linking reaction to form a flexible and elastic colloid.
Nature
(1) Good chemical stability, non-toxic and non-corrosive;
(2) Good fluidity, can fill the mold automatically;
(3) Controllable vulcanization speed, vulcanization at room temperature and normal pressure, easy to operate;
(4) Good demouldability;
(5) Strong simulation and realistic decoration;
(6) The mold making speed is fast, and the mold can be made within 20h.
Operation method
1. Stir the silicone and curing agent evenly. The appearance of the mold silicone is a flowing liquid, component A is silicone, and component B is the curing agent.
Example: Take 100 grams of silica gel and add 2-3 grams of curing agent
(Note: The silica gel and the curing agent must be stirred evenly. If it is not evenly stirred, one part of the mold will have been cured and another part will not be cured. The silicone will dry and cure unevenly, which will affect the service life of the silicone mold and the number of overmolding. It even causes the mold to be scrapped.
2. Vacuum exhaust air bubble treatment:
After the silica gel and the curing agent are evenly stirred, perform the vacuuming to remove the bubbles. The vacuuming time should not be too long. Under normal circumstances, it should not exceed ten minutes. If the vacuuming time is too long, the silica gel will solidify immediately, resulting in a cross-linking reaction. The silica gel becomes piece by piece and cannot be painted or poured. This wastes the silica gel. You can only pour the silica gel into the trash can and take the silica gel again.
3. Painting or operation process:
The silica gel that has been evacuated and evacuated can be brushed or poured. Pour on top of the product
(Note: The product or model to be copied before pouring the silica gel must be treated with a release agent or release agent). Then apply the silica gel on the product. The application must be even. After 30 minutes, paste a layer of gauze and weft cloth to increase the strength and tension of the silica gel. Then apply a layer of silica gel, and then paste a layer of gauze and weft cloth, so that it will be fine after two times.
Only by doing so, the service life of the opened silicone mold and the number of mold turning times will be relatively increased, which can save costs and improve efficiency.
4. Production of outer mold:
The generally used method and material is to surround the mold with rubber sheets or wooden boards. Once the mold cabinet is filled with plaster, it is sufficient to fill the mold cabinet with plaster, and the other is to use resin painting. The glass fiber cloth, brush and paste, repeat two or three layers to complete the outer mold of the mold.
5. The operation method of filling mold or pouring mold:
Filling or pouring molds are used for relatively smooth or simple products. There is no mold line to save labor and time, that is, the product or model you want to copy is surrounded by plastic or glass plates, and the vacuumed silicone is directly Pour onto the product, after the silica gel is dried and formed, take out the product and the mold is formed
(Note: The perfusion mold is generally made of silicone with relatively soft hardness, so that it is easier to demold and will not damage the products in the silicone mold)
Use:
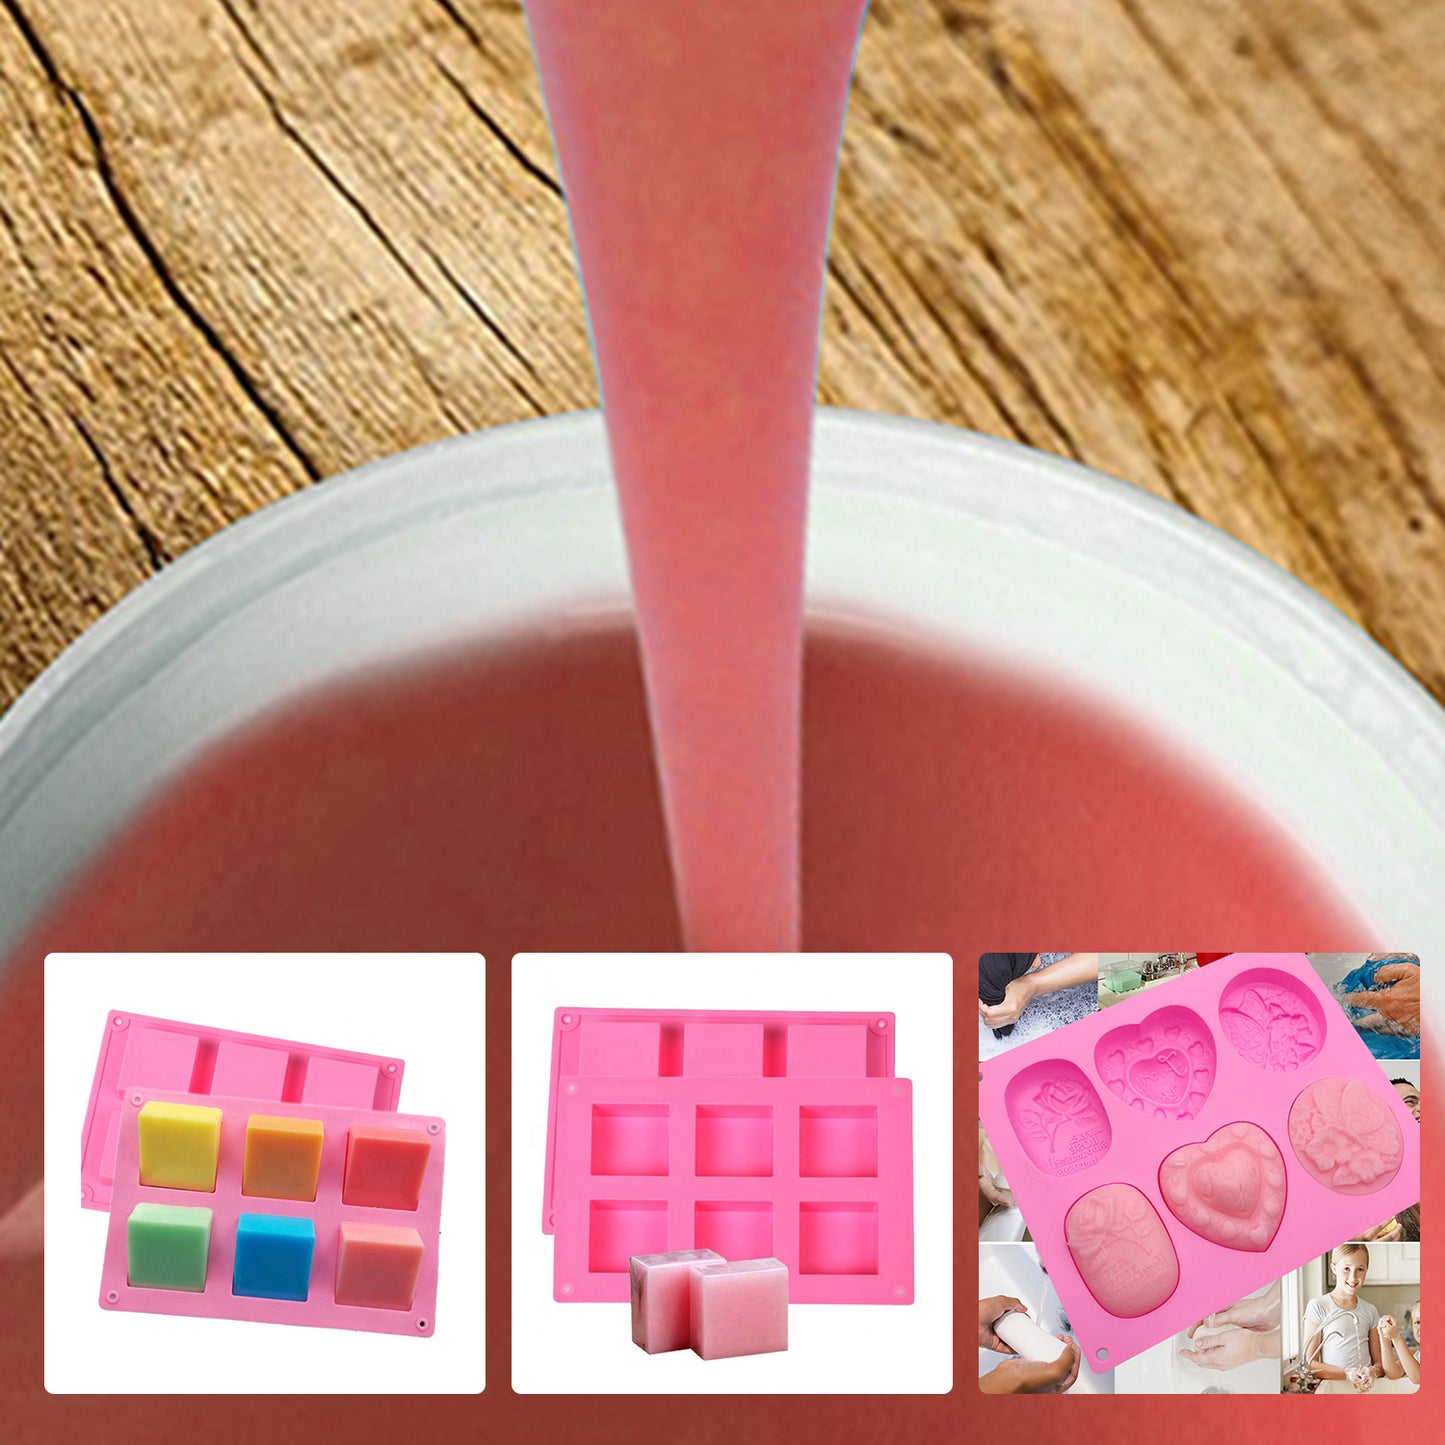
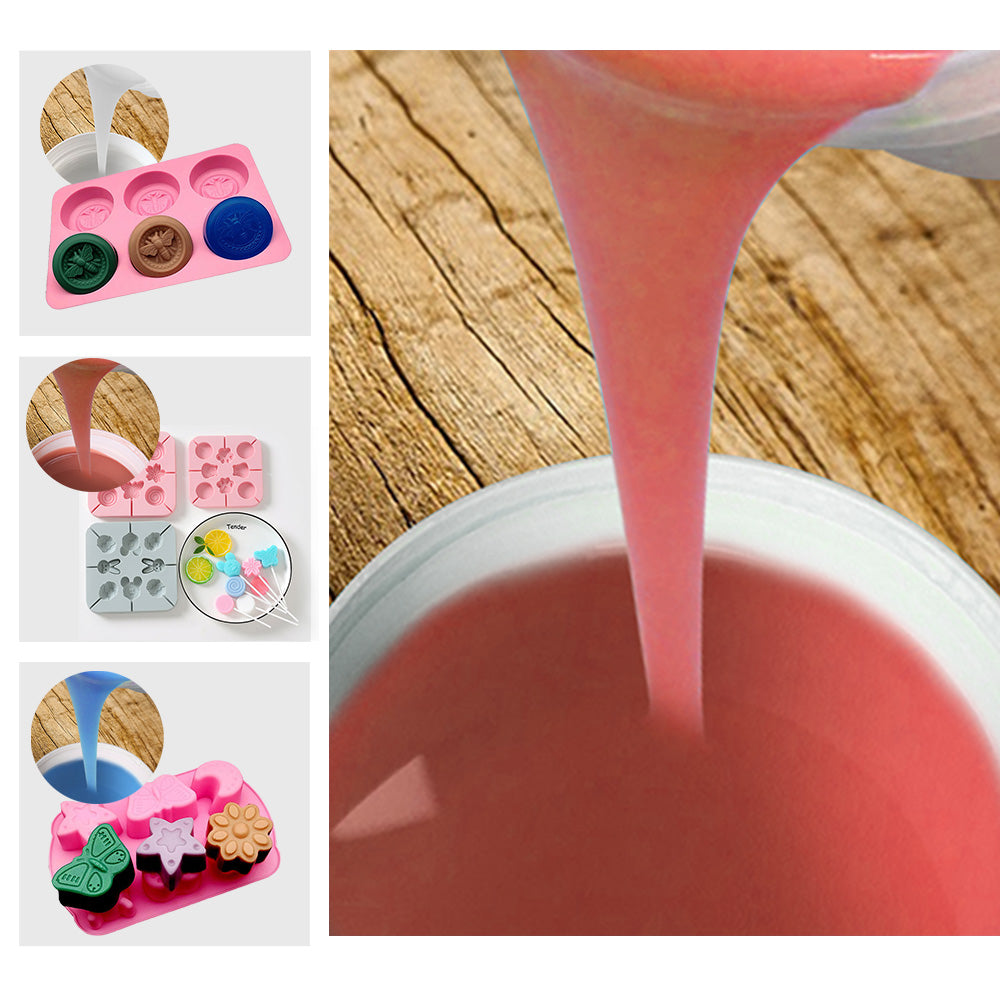
Suitable for slicing brush molds, such as cement products, cultural stones, sandstone reliefs, resin crafts, tire molds, etc.
Instructions
Please read the user guide carefully before starting your work
Safety - Use in a properly ventilated area (“room size” ventilation). Wear safety glasses, long sleeves and rubber gloves to minimize contamination risk. Wear vinyl gloves only. Latex gloves will inhibit the cure of the rubber.
Store and use material at room temperature (73°F/23°C). Storing material at warmer temperatures will also reduce the usable shelf life of unused material. These products have a limited shelf life and should be used as soon as possible. Premix Parts A and B thoroughly before using.
Cure Inhibition - Silicone rubber may be inhibited by certain contaminants in or on the pattern to be molded, resulting in tackiness at the pattern interface or a total lack of cure throughout the mold. If compatibility between the rubber and the surface is a concern, a small-scale test is recommended. Apply a small amount of rubber onto a non-critical area of the pattern. Inhibition has occurred if the rubber is gummy or uncured after the recommended cure time has passed. Materials found to cause cure inhibition include sulfur-based modeling clays and latex rubber.
To prevent inhibition apply a sealing agent . . . apply a “barrier coat” of clear acrylic lacquer sprayed onto the clay surface.
Applying A Release Agent - Although not usually necessary, a release agent will make demolding easier when pouring into or over most surfaces.
Because no two applications are quite the same, a small test application to determine suitability for your project is recommended if performance of this material is in question.
Measuring & Mixing - Before you begin, pre-mix Parts A and B (radio weight100:3)thoroughly. After dispensing equal amounts of Parts A and B into mixing container, mix thoroughly for 3 minutes making sure that you scrape the sides and bottom of the mixing container several times. Mixture should have a uniform color with no color streaks. If you observe color streaks, continue mixing until they are eliminated.
Vacuumizing and vacuuming treatment: after mixing, the vacuumizing time should not last too long. Normally, it should not exceed 10 minutes. Over timing, could lead to the liquid will solidify immediately, which will produce cross-linking reaction, and makes the gel become a piece by piece, which can not be used at all.
Pouring - For best results, pour your mixture in a single spot at the lowest point of the containment field. Let the rubber seek its level up and over the model. A uniform flow will help minimize entrapped air. The liquid rubber should level off at least 1/2” (1.3 cm) over the highest point of the model surface.
Curing - Allow to cure for 75 minutes at room temperature (73°F/23°C) before demolding. Post curing the mold an additional 4 hours at 150°F (65°C) will eliminate any residual moisture and alcohol which is a by product of the condensation process and may inhibit some resins. Allow mold to cool to room temperature before using. Do not cure rubber where temperature is less than 65°F/18°C.
Using The Mold - No release agent is necessary when casting wax or gypsum. Applying a release agent prior to casting polyurethane, polyester and epoxy resins is recommended to prevent sticking and mold degradation.
Mold Performance & Storage – The physical life of the mold depends on how you use it (materials cast, frequency, etc.). Casting abrasive materials such as concrete will quickly erode mold detail, while casting non-abrasive materials (wax) will not affect mold detail. Before storing, the mold should be cleaned with a soap solution and wiped fully dry. Two part (or more) molds should be assembled. Molds should be stored on a level surface in a cool, dry environment.
Note:
*Sourced From Professional Aftermarket Manufacturer, QUALITY GUARANTEED.*

SH25 Liquid Silicone Rubber Mould Making Kit 100:3 Mix - 1Kg 5Kg 10Kg Red
Feature:
Ratio Weigt:100 (A Silicone) : 3 (B Harden)
Harden Time (surface) : 20-45-mins pot life and 4-6hrs cure time,completed harden time 24hrs
Shore A Hardness- Approx. 25
Tensile strength - Approx. 4.0MPa- MPa
Ultimate Elongation Approx. 500-550%
Tear strength > 24 kN/m
Linear shrinkage 3% slow speed catalyst -
Color: Red
Content: 1KG/5KGS/10KGS
Description
-Mold silicone rubber is a two-component silicone rubber at room temperature, abbreviated as RTV.
-This is a two-component compound.
-The A component contains a crosslinking agent and the B component contains a catalyst.
-During the packaging process, the crosslinker and the catalyst must be separated.
-Its vulcanization is carried out at room temperature, as long as the two components are mixed in a certain ratio (the specific ratio can be determined according to the operating time and product performance),
-The two-component compound undergoes a cross-linking reaction to form a flexible and elastic colloid.
Nature
(1) Good chemical stability, non-toxic and non-corrosive;
(2) Good fluidity, can fill the mold automatically;
(3) Controllable vulcanization speed, vulcanization at room temperature and normal pressure, easy to operate;
(4) Good demouldability;
(5) Strong simulation and realistic decoration;
(6) The mold making speed is fast, and the mold can be made within 20h.
Operation method
1. Stir the silicone and curing agent evenly. The appearance of the mold silicone is a flowing liquid, component A is silicone, and component B is the curing agent.
Example: Take 100 grams of silica gel and add 2-3 grams of curing agent
(Note: The silica gel and the curing agent must be stirred evenly. If it is not evenly stirred, one part of the mold will have been cured and another part will not be cured. The silicone will dry and cure unevenly, which will affect the service life of the silicone mold and the number of overmolding. It even causes the mold to be scrapped.
2. Vacuum exhaust air bubble treatment:
After the silica gel and the curing agent are evenly stirred, perform the vacuuming to remove the bubbles. The vacuuming time should not be too long. Under normal circumstances, it should not exceed ten minutes. If the vacuuming time is too long, the silica gel will solidify immediately, resulting in a cross-linking reaction. The silica gel becomes piece by piece and cannot be painted or poured. This wastes the silica gel. You can only pour the silica gel into the trash can and take the silica gel again.
3. Painting or operation process:
The silica gel that has been evacuated and evacuated can be brushed or poured. Pour on top of the product
(Note: The product or model to be copied before pouring the silica gel must be treated with a release agent or release agent). Then apply the silica gel on the product. The application must be even. After 30 minutes, paste a layer of gauze and weft cloth to increase the strength and tension of the silica gel. Then apply a layer of silica gel, and then paste a layer of gauze and weft cloth, so that it will be fine after two times.
Only by doing so, the service life of the opened silicone mold and the number of mold turning times will be relatively increased, which can save costs and improve efficiency.
4. Production of outer mold:
The generally used method and material is to surround the mold with rubber sheets or wooden boards. Once the mold cabinet is filled with plaster, it is sufficient to fill the mold cabinet with plaster, and the other is to use resin painting. The glass fiber cloth, brush and paste, repeat two or three layers to complete the outer mold of the mold.
5. The operation method of filling mold or pouring mold:
Filling or pouring molds are used for relatively smooth or simple products. There is no mold line to save labor and time, that is, the product or model you want to copy is surrounded by plastic or glass plates, and the vacuumed silicone is directly Pour onto the product, after the silica gel is dried and formed, take out the product and the mold is formed
(Note: The perfusion mold is generally made of silicone with relatively soft hardness, so that it is easier to demold and will not damage the products in the silicone mold)
Use:
Suitable for slicing brush molds, such as cement products, cultural stones, sandstone reliefs, resin crafts, tire molds, etc.
Instructions
Please read the user guide carefully before starting your work
Safety - Use in a properly ventilated area (“room size” ventilation). Wear safety glasses, long sleeves and rubber gloves to minimize contamination risk. Wear vinyl gloves only. Latex gloves will inhibit the cure of the rubber.
Store and use material at room temperature (73°F/23°C). Storing material at warmer temperatures will also reduce the usable shelf life of unused material. These products have a limited shelf life and should be used as soon as possible. Premix Parts A and B thoroughly before using.
Cure Inhibition - Silicone rubber may be inhibited by certain contaminants in or on the pattern to be molded, resulting in tackiness at the pattern interface or a total lack of cure throughout the mold. If compatibility between the rubber and the surface is a concern, a small-scale test is recommended. Apply a small amount of rubber onto a non-critical area of the pattern. Inhibition has occurred if the rubber is gummy or uncured after the recommended cure time has passed. Materials found to cause cure inhibition include sulfur-based modeling clays and latex rubber.
To prevent inhibition apply a sealing agent . . . apply a “barrier coat” of clear acrylic lacquer sprayed onto the clay surface.
Applying A Release Agent - Although not usually necessary, a release agent will make demolding easier when pouring into or over most surfaces.
Because no two applications are quite the same, a small test application to determine suitability for your project is recommended if performance of this material is in question.
Measuring & Mixing - Before you begin, pre-mix Parts A and B (radio weight100:3)thoroughly. After dispensing equal amounts of Parts A and B into mixing container, mix thoroughly for 3 minutes making sure that you scrape the sides and bottom of the mixing container several times. Mixture should have a uniform color with no color streaks. If you observe color streaks, continue mixing until they are eliminated.
Vacuumizing and vacuuming treatment: after mixing, the vacuumizing time should not last too long. Normally, it should not exceed 10 minutes. Over timing, could lead to the liquid will solidify immediately, which will produce cross-linking reaction, and makes the gel become a piece by piece, which can not be used at all.
Pouring - For best results, pour your mixture in a single spot at the lowest point of the containment field. Let the rubber seek its level up and over the model. A uniform flow will help minimize entrapped air. The liquid rubber should level off at least 1/2” (1.3 cm) over the highest point of the model surface.
Curing - Allow to cure for 75 minutes at room temperature (73°F/23°C) before demolding. Post curing the mold an additional 4 hours at 150°F (65°C) will eliminate any residual moisture and alcohol which is a by product of the condensation process and may inhibit some resins. Allow mold to cool to room temperature before using. Do not cure rubber where temperature is less than 65°F/18°C.
Using The Mold - No release agent is necessary when casting wax or gypsum. Applying a release agent prior to casting polyurethane, polyester and epoxy resins is recommended to prevent sticking and mold degradation.
Mold Performance & Storage – The physical life of the mold depends on how you use it (materials cast, frequency, etc.). Casting abrasive materials such as concrete will quickly erode mold detail, while casting non-abrasive materials (wax) will not affect mold detail. Before storing, the mold should be cleaned with a soap solution and wiped fully dry. Two part (or more) molds should be assembled. Molds should be stored on a level surface in a cool, dry environment.
Note:
*Sourced From Professional Aftermarket Manufacturer, QUALITY GUARANTEED.*


